Friday, November 30, 2007
Sick again, sick again
Poor Gavin. My poor baby boy is sick again. He went to bed Wednesday night with a fever of 101.1 degree so needless to say he went right to sleep. He woke up at 1:00 am, Thursday morning with a 105 degree fever. Not only that but he was screaming as if he was in pain and he was acting as if his skin was crawling. He wanted to be held but didn't want to be touched. I finally got him back in bed about 2:30 only to be up again at 4:00. He went back to sleep pretty quickly that time but he woke at 4:25 screaming again. Brian and I were exhasted and Colin slept right through it. I swear that boy can sleep through anything. So I took Gavin to the doctor yesterday and they said he still had 2 ear infections but also had bronchitis. Like I said, poor baby. So he's home today again, so far, so good. No fever and he's acting better. He still hasn't gone to school a full week since he started. His caugh still sounds bad. But he's obviously feeling better. That's all that matters.
Friday, November 23, 2007
Pony Diva Fashion Show
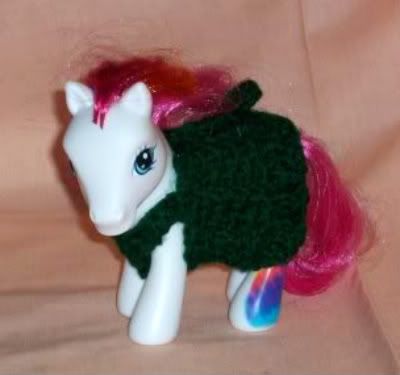
Well here are the latest pony fashions I've made. I'm not sure what I'll do with them all but atleast some of them will be Christmas presents.
Green dress. I need to add button to it.
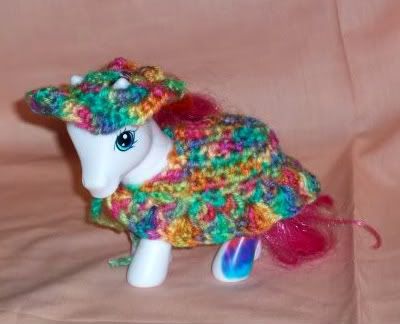
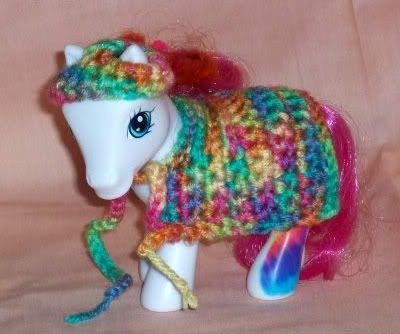
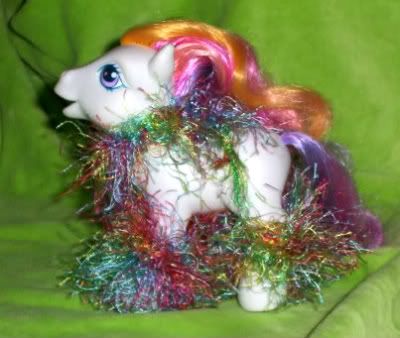
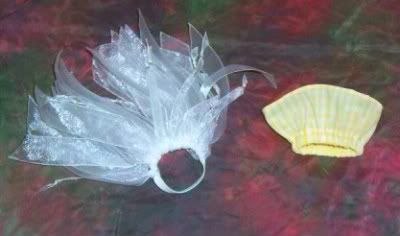
Multi colored ruffle cape and hat. I may add some yarn to the hat so that you can tie it on. I haven't decided.
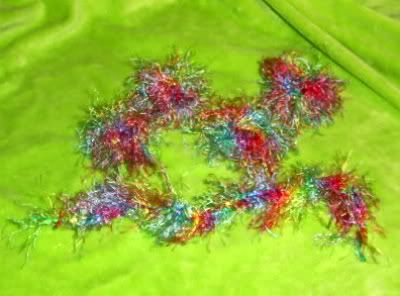
Just the ruffle cape
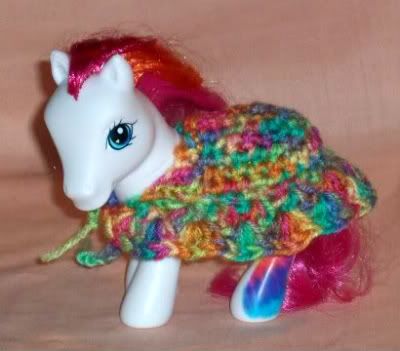
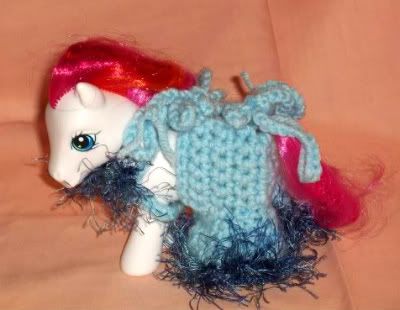
Multi colored cape blanket with fringe
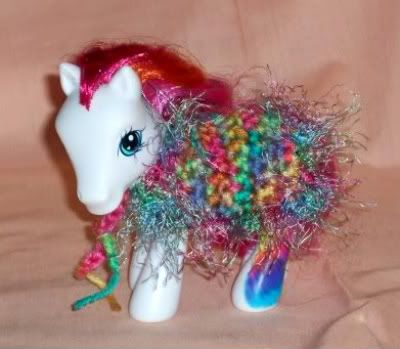
Multi colored cape blanket with cap
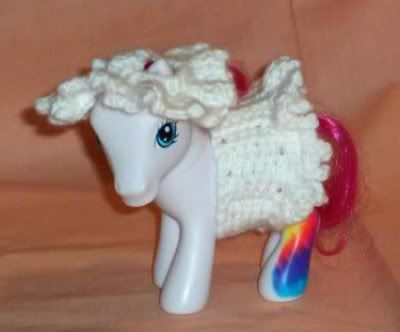
White ruffle skirt and hat. I may add some ribbon or yarn to hat to tie it on. I need to add buttons to the skirt.
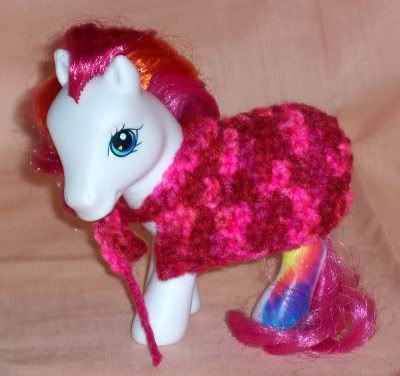
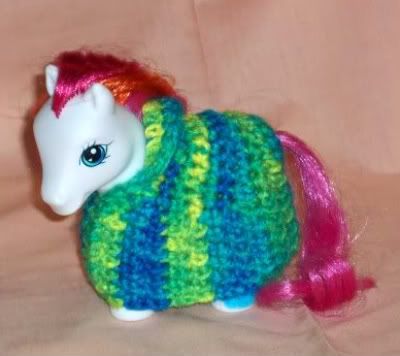
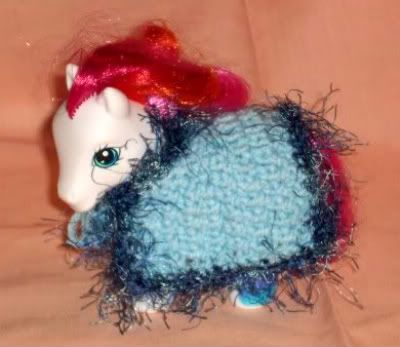
Multi Pink fitted cape blanket
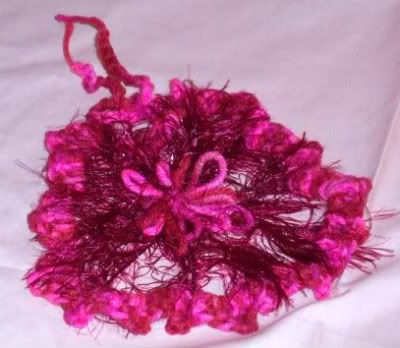
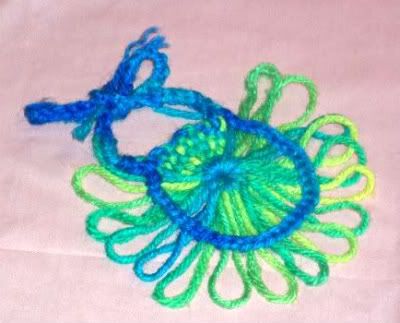
Pink Diva Cape made on flower loom with crochet edges
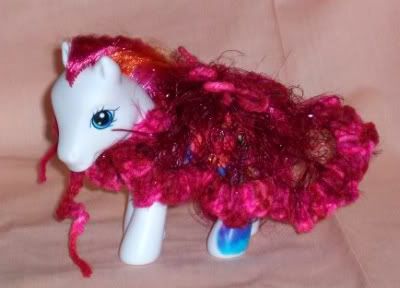
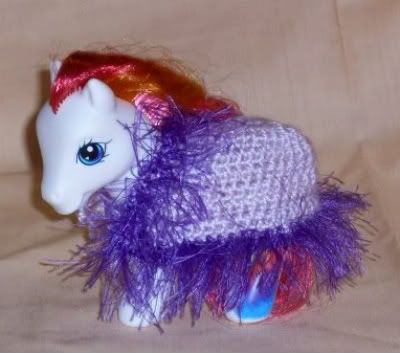
Purple fitted cape with fringe
Full Body Robe with collar. These robes remind me of those moomoo dresses or house dresses from the 70's, LOL.
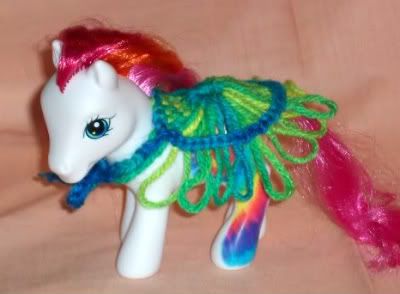
Circus style cape blanket made on flower loom
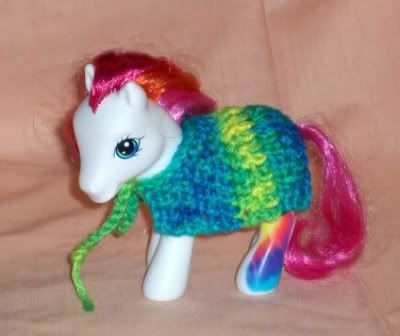
Green and blues cape blanket
Pants and Top
Cape Blanket
hat and skirt
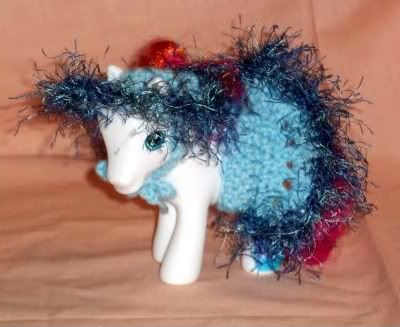
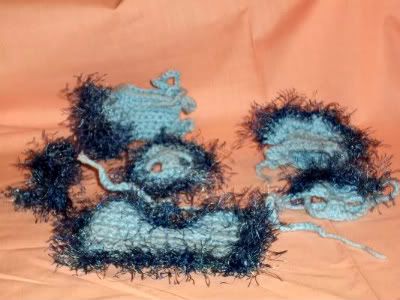
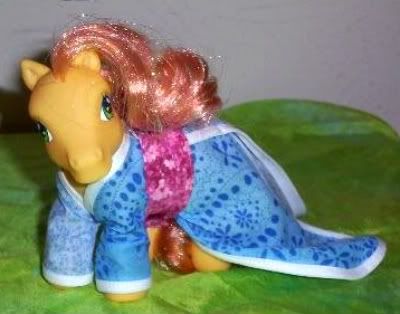
All of the coordinating blue pieces
Well I have more but I'm tired of posting now, LOL. I made all of these without patterns so I can't reproduce them exactly. But they were fun to make.
Green dress. I need to add button to it.

Multi colored ruffle cape and hat. I may add some yarn to the hat so that you can tie it on. I haven't decided.

Just the ruffle cape

Multi colored cape blanket with fringe

Multi colored cape blanket with cap

White ruffle skirt and hat. I may add some ribbon or yarn to hat to tie it on. I need to add buttons to the skirt.

Multi Pink fitted cape blanket

Pink Diva Cape made on flower loom with crochet edges


Purple fitted cape with fringe

Full Body Robe with collar. These robes remind me of those moomoo dresses or house dresses from the 70's, LOL.

Circus style cape blanket made on flower loom


Green and blues cape blanket

Pants and Top

Cape Blanket

hat and skirt

All of the coordinating blue pieces

Well I have more but I'm tired of posting now, LOL. I made all of these without patterns so I can't reproduce them exactly. But they were fun to make.
Old Pony Fashions
Here are some pony fashions that I've made in the past.
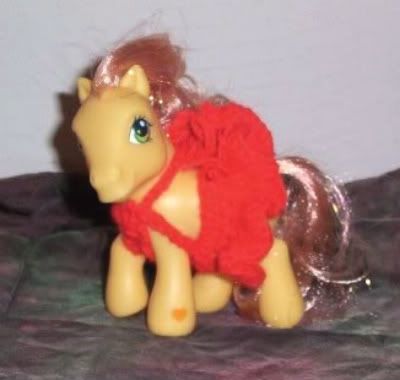
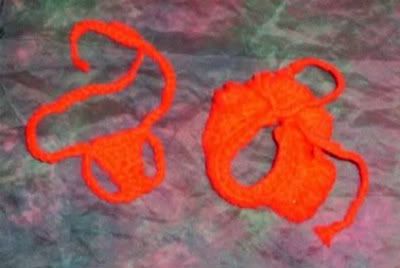
First Crochet skirt and top (sorry red crochet doesn't photograph well)
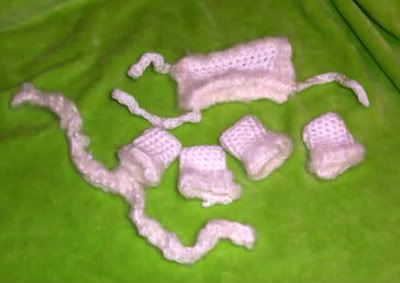
White cape, leg warmers and boa
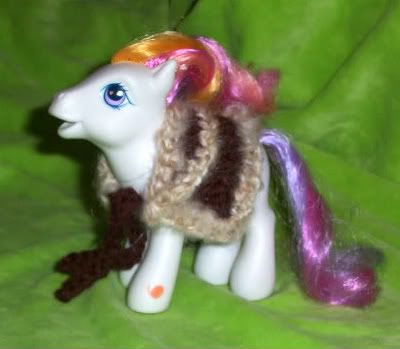
Brown cape with collar
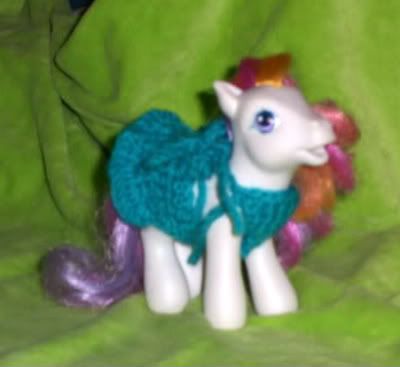
Turquoise Top and Skirt - sorry its a little blurry

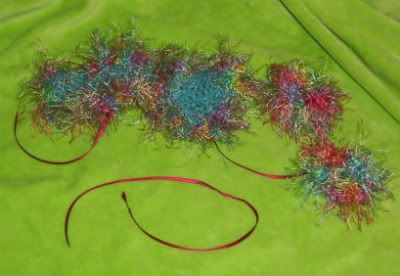
Turquoise coat with colorful trim & leg warmers - I didn't get a picture of this coat on a pony
Blue and pink Kimono
Boa and leg warmers
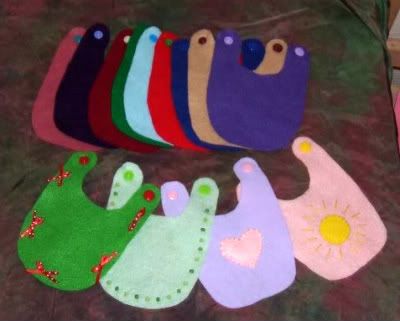
Felt capes
2 simple skirts
I have patterns somewhere for the kimono and the felt capes, LOL. I love making pony fashions but I just don't know many girlies to give them to. My boys have some MLP's but they don't need anymore ponies or pony clothes since they really don't play with them anymore.
First Crochet skirt and top (sorry red crochet doesn't photograph well)


White cape, leg warmers and boa

Brown cape with collar

Turquoise Top and Skirt - sorry its a little blurry


Turquoise coat with colorful trim & leg warmers - I didn't get a picture of this coat on a pony

Blue and pink Kimono

Boa and leg warmers


Felt capes

2 simple skirts

I have patterns somewhere for the kimono and the felt capes, LOL. I love making pony fashions but I just don't know many girlies to give them to. My boys have some MLP's but they don't need anymore ponies or pony clothes since they really don't play with them anymore.
Thanksgiving Day
We had a great Thanksgiving day at MIL's house. We had a great dinner. Of course before dinner, Colin started running fever . Poor thing, he looked like he was feeling horrible. We gave him some advil and 45 minutes later he was jumping off the back of the couch. Brian is taking him to the doctor right now since he was running fever again this morning. Hopefully it will be nothing. If he has another ear infection, we have to take him downtown to the ear specialist again. Gavin is getting over his ear infections and strep throat now. He's on the last days of his medicine.
Well other than Colin's fever, it was a great day.
Well other than Colin's fever, it was a great day.
Wednesday, November 21, 2007
The Tree done, The Pumpkin patch and Thanksgiving Seasonal Table
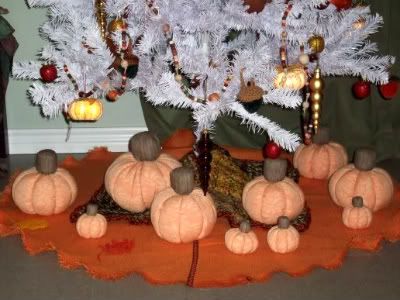
I found this really yummy peach/orange woven fabric at Hobby Lobby on clearance. I snatched up a yard and decided to make pumpkins with it. I used this pattern http://sewing.about.com/library/weekly/aa101999.htm for the main part of the pumpkin. I just made up the stems myself. I also enlarged the pattern to make 1 big pumpkin. I think they turned out awesome.
I also made the 2 layered tree skirt. The bottom layer is orange burlap with brown bias tape on some of the edges. I used a decorative stitch in orange to topstitch the bias tape to the burlap. I then sewed a zigzag circle around about 1 1/2 inches from the edge. After that I unraveled the edges to look like fringe. The top layer was made on the potholder loom. I wanted a plaid look. I think it turned out great. I crocheted the edges with orange and brown to tie it all together and to bring in the colors of the bottom skirt layer.
I think the tree turned out awesome.
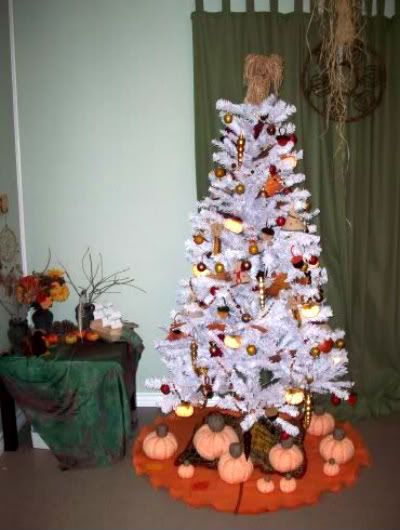
I found some great ornaments and made some more. I knew I wouldn't have that much time to get it done before Thanksgiving, so I'm glad I was able to buy some. I'll make more next year.
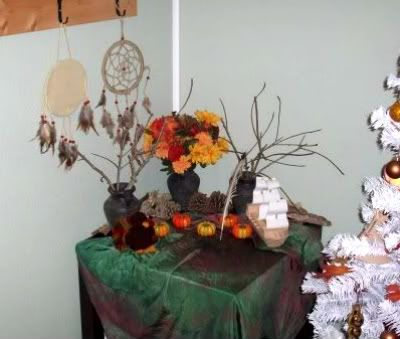
The seasonal table changed a bit from Halloween. I kept the jars, pinecones and bark on the table. I gathered some sticks from the yard for 2 of the jars. I put some fake flowers that my Nana bought for me while I was in college in the other jar. I made the turkey (see earlier blog). I found the dreamcatchers and ceramic pumpkins at dollar stores. Colin made the beautiful Mayflower on the table. Brian has been taking Colin to Home Depot once a month for workshops and this is what he made this month. Isn't it great.
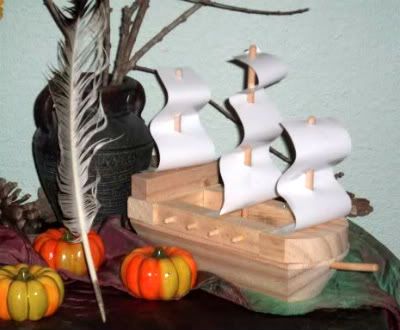
The white turkey feather is from my neighbor's turkey. It comes to our yard all the time. Colin found it and thought it needed to go with the other Thanksgiving stuff.
Well that's about it. Have a Happy Thanksgiving!!!!
Acorn Ornaments
Here are the acorn ornaments I made this week for the Thanksgiving Tree.

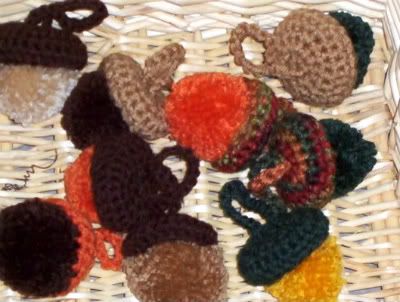
They were pretty quick to make. And they turned out way better than I thought they would.
Here is the pattern:
1. Create a magic ring and sc 6 sts into ring. Or ch 2, crochet 2 into the 2nd ch from the hook. (total 6 sc)
2. 2 sc in each sc; repeat until you get 12 sc
3. 2 sc in next sc, 1 sc in next sc; repeat until you get 18 sc
4. 2 sc in next sc, 1 sc in next 2 sc; repeat until you get 24 sc
5. 1 sc in next sc repeat for 24 sc6. sc2tog, 1 sc into next sc; repeat until you get 18
That's it for the cap. Then you just create a pompom much bigger than you need and shape it down to the right acorn nut shape.
Thursday, November 15, 2007
Tipis or Teepees, however you want to spell it.

I know, I know, its most likely that the indians that the settlers ran into didn't live in tipis. They most likely lived in something like a wigwam or some other more permanent structure. But when you think of indians, tipis is often one of the things that comes to mind. So I made some for my thanksgiving tree.
They were really easy to make. It would be a great craft for adults to do with kiddos. I wouldn't consider it a kids only craft because you need to use hot glue at one point but other than that, its a kids craft.

Supplies
tan craft foam
permanent markers or paint with brushes
wooden toothpicks
brown embroidery floss or other matching colors
needle for floss
hot glue gun
hole punch - very small or something to carefully poke small holes into the craft foam
Enlarge the pattern to size.
Trace pattern onto tan craft foam.
Decorate the outside of the tipi with permanent markers or paint. Find books with tipi designs. I recommend "The Indian Tipi" by Reginald & Gladys Laubin. Its a great reference book on indian culture as well (for a few tribes anyway).
Punch holes where the pattern indicates.
Circle the tipi into the correct shape and sew together with embroidery floss.
Fold back smoke flaps and glue underside with hot glue to keep open.
Glue wooden toothpicks into top but running a bead of hot glue on the inside then inserting the glue through the hole into the glue.
Your done. I just put mine on the tree branches of my Thanksgiving tree, but you can used them for any kind of decorations.
Pattern:

Enlarge until the longest side is about 9 inches long.
Little Gobble Gobble
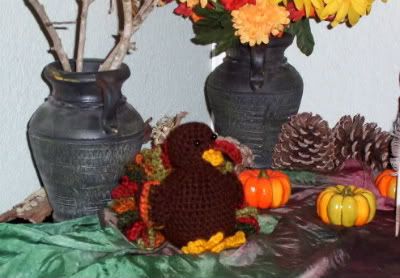
I made a cute turkey last weekend. I did it without a pattern. I saw a turkey on etsy that I liked and copied the body style. Of course, like always, I forgot to write the pattern down while I was making it. One of these day I'll learn to actually do that while I'm working, instead of thinking of it after the fact.
So here he is......

So here he is......


Thanksgiving Tree bought ornaments
Well I didn't think I'd get much done on the tree so I wimped out and bought a bunch of ornaments for it. Now I'm busy making ornaments too. I found in some of my fall/halloween decorations when I was putting halloween away, some fall leaves so I put those in the tree. At 99cent store, I found some great beaded foam pumpkins. At Family Dollar, I found some glittered apple ornaments. Remember those little apple ornaments that you used to get in elementary school at christmas from your teacher. Well they make them in glitter in red and gold now. I bought one pack of gold and one of red for $1.00 each. I also found some ornaments at Lowes. So basically, my tree looks decorated from the front, LOL. I'll keep making ornaments for it the rest of this week. I think the tree is turning out better than I expected. I wasn't sure how a white tree would look with fall ornaments on it, but it looks good.
Thursday, November 8, 2007
Thanksgiving tree
So I've been working on a Thanksgiving tree since Halloween is over. I didn't want the tree to be bare. I also didn't want to take it down, decorate for Christmas early or leave up the Halloween decorations. So I decided to create a Thanksgiving tree. I'll be working on it for the next few weeks. I'll stop before Thanksgiving and post the result. Anyway, here is what I've made so far this week:
A Grain/Hay Stack Tree Topper:
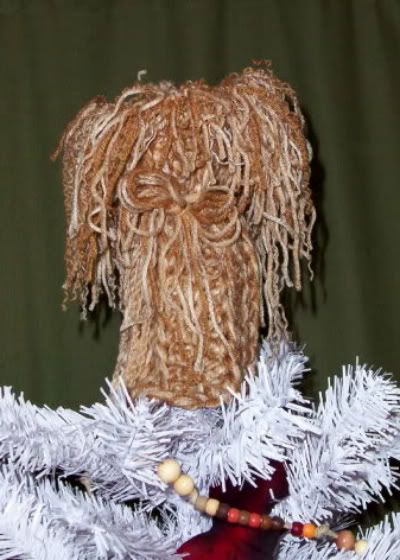
I created this without a pattern. I used 3 different yarns to give color variation and used a large hook to crochet this. I was originally going to add crocheted chains to the outside for more texture but after adding a few I decided it didn't need it, but I didn't unattach them. I knotted extra yarn to the top of the stack to give it character. I also unraveled s few strands of yarn to also give it character. Then I just tied it around with a piece of yarn about 1/4 the way down.
Garland:
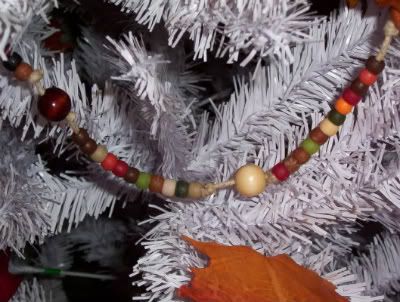
Made from Hemp twine, pony beads and wooden beads.
Knitted and Crocheted Indian Corn:
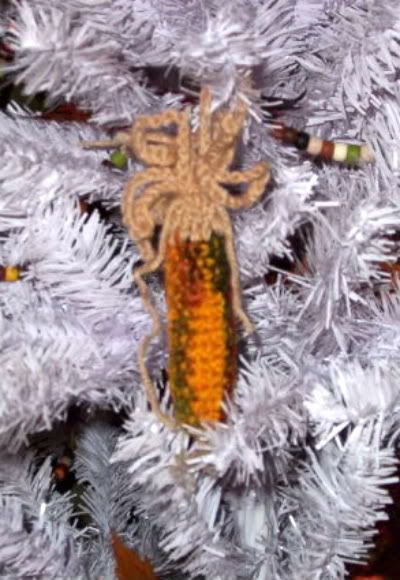
I cast on 15 stitches with mustard yellow yarn. Then used a Seed or Moss Stitch to create the kernels. I randomly switched my yellow yarn out with a fall multi colored yarn to give it more that indian corn look. I did this until it was about 3 inches long. I didn't count rows, sorry. To finish it off, I sewed up the top and bottom of the work. Next I gathered one end together to make the tip of the corn. I tied on a piece of husk colored yarn and unraveled it to look like cornsilk. Stuff the corn. On the other end, I crocheted a circle to fit inside the open end and then sc the circle onto the corn. Then crochet random sized loops pulling the outer edges into the center, all the way around the corn. Tie a string around the loops to gather them up. Use one of the longer loops to hang on the tree or simply use them as decorations in a bowl, cornicopia or where every.
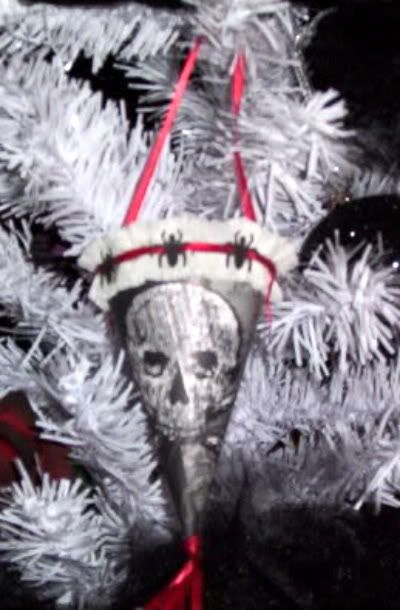
Halloween Cones
I made some cone ornaments for the tree out of scrapbook paper, ribbon, lace, pipe cleaners, yarn, hole punches, paper punches, crepe paper, etc. They were simple to make and look great.


Halloween Table and other crafts
Not only did I create a Halloween tree, I also created a Halloween table.
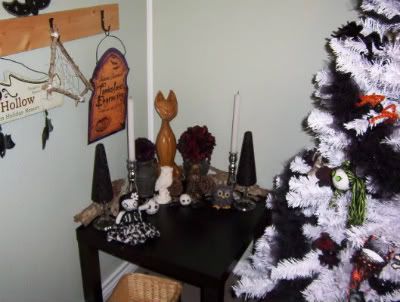
I'm going to start from left to right on the table. In the back you can see bark and pine cones. We just found those out of the yard. I've had them for a few years now. I just put them up and pull them out when I need them. We found them after the last hurricane we had come though here.
The Elegant cone trees: I found the cones and glass candle stick holders at DollarTree. I painted the cone black then after the paint dried, I glued them onto the candle holder. I think they turned out great and look very sophisticated.
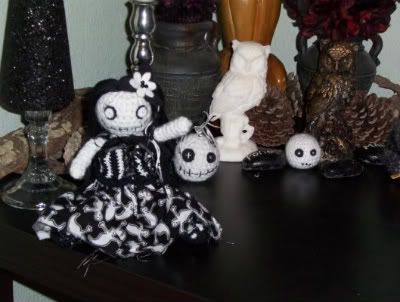
The Zombie Girl Doll: I made her with no pattern (and unfortunately I didn't write one as I went). I crocheted her body, stockings and bodice. I used crochet thread for hair. I made a felt flower for her hair. I used felt and embroidery floss for her eyes. I stitched on her mouth. And I found some perfect fabric for her dress in my fabric stash.
The Silver Candle Sticks: This was a great find from Goodwill. 2 candlesticks for $2.99.
Flower topped Urns: I originally made the flower balls for the tree, but they looked too big for it, so I put them on top of these urns that I found at The 99 Cent Store. I bought the flowers and foam balls at Dollar Tree. I then spray painted them lightly black just like I did for my wreath (check out those instructions).
Owls: Another great find from Goodwill. I found these for $.79 each. The bronze colored one was originally bronze and white (which looked icky) so I hit it with some black paint and wiped it off the gold areas and it turned out awesome. The white owl is ceramic, the other is plaster.
The Zombie Heads: I just had to have some on my table. I've got directions for making them elsewhere.
The Wooden Cat: Another great Goodwill find. Yep I keep my eye out for great stuff like this. We try to go there once every couple of weeks for book hunting and of course we look around for other treasures as well. The cat was only $3.99. It has a little wear, but I think its great. I haven't decided but I may paint it black next year, or I may simple refinish it.
Now for what's not on the table:
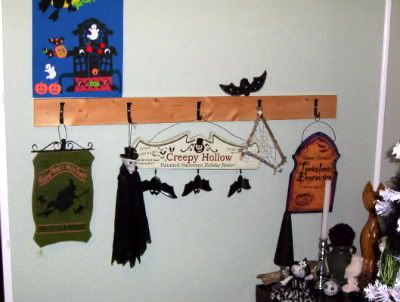
I made the spider web using sticks out of the yard and white crochet thread. I just drilled some holes in the branches to secure the thread then just did a lot of knotting.
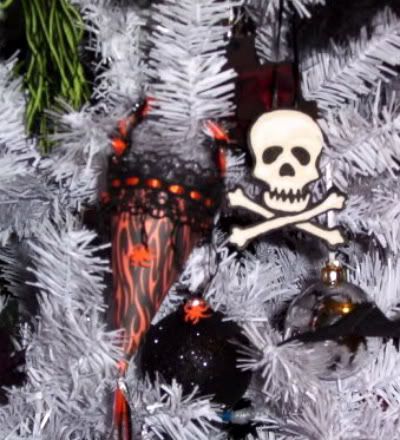
And one more ornament, the skull and crossbones:
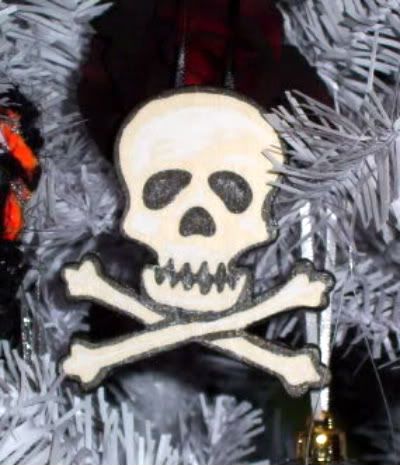
I found some small wooden skull and cross bones for half off at Joann's. I spent a whooping 12 cents each. I bought 8, to make 4 ornaments. I painted the black areas and the edges. I painted some highlights white. I glued a piece of ribbon in a loop on the back of one for the hanger. Then I glued two of the wooden pieces together.

I'm going to start from left to right on the table. In the back you can see bark and pine cones. We just found those out of the yard. I've had them for a few years now. I just put them up and pull them out when I need them. We found them after the last hurricane we had come though here.
The Elegant cone trees: I found the cones and glass candle stick holders at DollarTree. I painted the cone black then after the paint dried, I glued them onto the candle holder. I think they turned out great and look very sophisticated.

The Zombie Girl Doll: I made her with no pattern (and unfortunately I didn't write one as I went). I crocheted her body, stockings and bodice. I used crochet thread for hair. I made a felt flower for her hair. I used felt and embroidery floss for her eyes. I stitched on her mouth. And I found some perfect fabric for her dress in my fabric stash.
The Silver Candle Sticks: This was a great find from Goodwill. 2 candlesticks for $2.99.
Flower topped Urns: I originally made the flower balls for the tree, but they looked too big for it, so I put them on top of these urns that I found at The 99 Cent Store. I bought the flowers and foam balls at Dollar Tree. I then spray painted them lightly black just like I did for my wreath (check out those instructions).
Owls: Another great find from Goodwill. I found these for $.79 each. The bronze colored one was originally bronze and white (which looked icky) so I hit it with some black paint and wiped it off the gold areas and it turned out awesome. The white owl is ceramic, the other is plaster.
The Zombie Heads: I just had to have some on my table
The Wooden Cat: Another great Goodwill find. Yep I keep my eye out for great stuff like this. We try to go there once every couple of weeks for book hunting and of course we look around for other treasures as well. The cat was only $3.99. It has a little wear, but I think its great. I haven't decided but I may paint it black next year, or I may simple refinish it.
Now for what's not on the table:

I made the spider web using sticks out of the yard and white crochet thread. I just drilled some holes in the branches to secure the thread then just did a lot of knotting.
And one more ornament, the skull and crossbones:

I found some small wooden skull and cross bones for half off at Joann's. I spent a whooping 12 cents each. I bought 8, to make 4 ornaments. I painted the black areas and the edges. I painted some highlights white. I glued a piece of ribbon in a loop on the back of one for the hanger. Then I glued two of the wooden pieces together.
Subscribe to:
Posts (Atom)