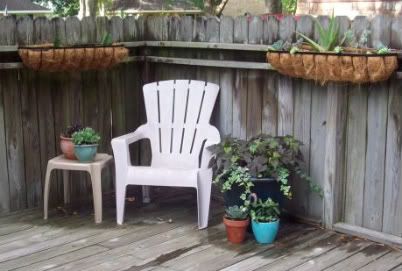
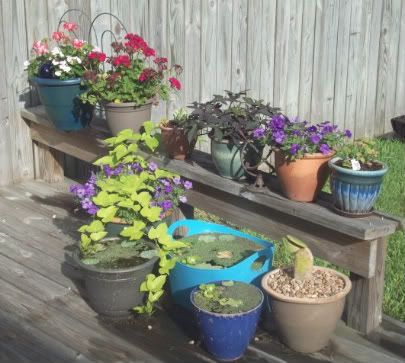
I finally got around to downloading the pictures off my camera. I am very slowly starting to steampunk my house. I decided to use blues, greens & teals in the backyard with some terracotta. I'm going to use black furniture with colored pillows for accents but I haven't bought or made any yet except some folding furniture so all I have is some old faded plastic furniture that is about on its last leg. Anyway here are the pots:
I took plain old plastic pots that were faded and revamped them with plastic paint. I used black, blue and dark green to make these.
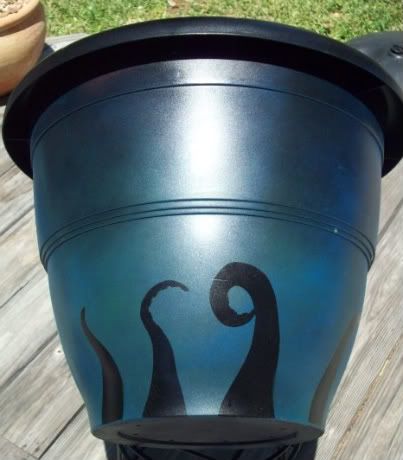
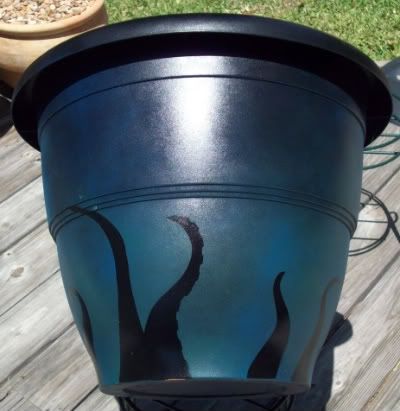
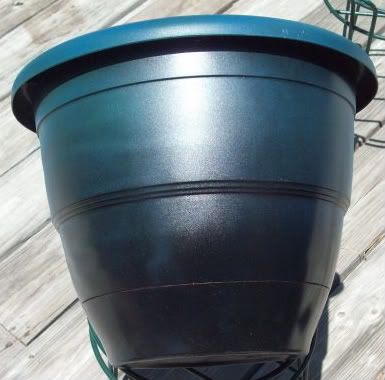
Pot #1: I started by spray painting the pot black. I then cut out tentacle stencils out of contact paper and put them on the pot. I then lightly sprayed them with blue and green spray paint to give them a watery look. I sprayed them more solidly towards the bottom of the pot and let it fade into black towards the top. This pot is the biggest of the pots I painted.
Pot #2 - I started out painting this pot black and just spray painted the top with the blue and black and let if fade into the black towards the bottom.
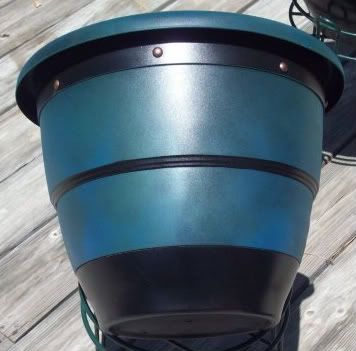
Pot #3 - I started out painting this pot black. I taped off areas and then sprayed blue and green. I then pulled off the tape. I found some upholstery tacks and cut off the shanks. I glued them onto the pot with e-6000 to make the pot look studded.
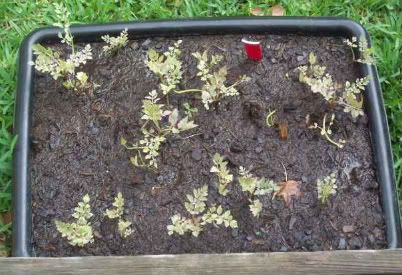
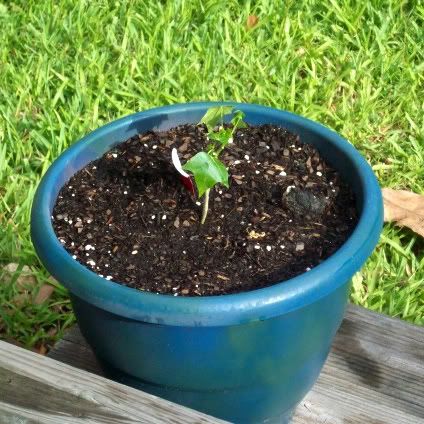
I have also painted some of them with just the blue and green. I didn't get a picture of them before I got them planted. But here is one of them:
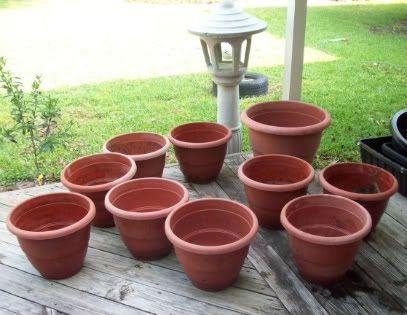
Oh and for giggles, here is the before picture:
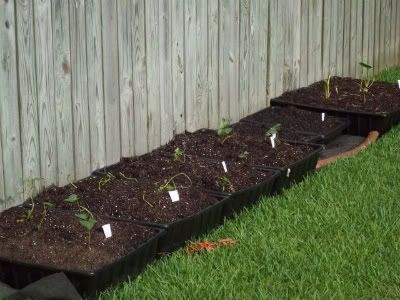
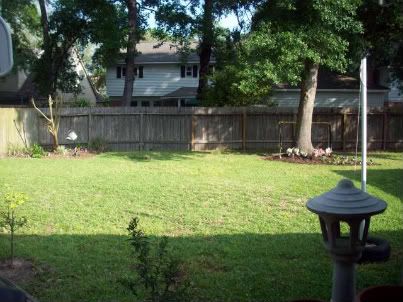
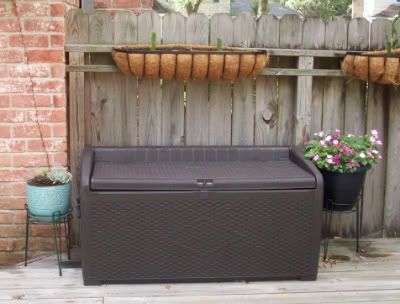
I haven't painted all of them yet ( I ran out of good weather and paint), but I did paint over half of them. I haven't decided what else I'm going to do to my yard yet to add a touch of steampunk to it, so I'm open to suggestions. I'm actually thinking of painting images on the fence. I want to add an arbor over the deck out of copper pipe but that might get expensive. Here are some pictures of the backyard so far:
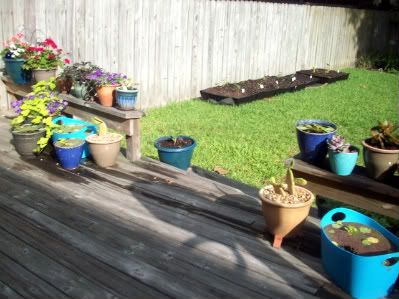
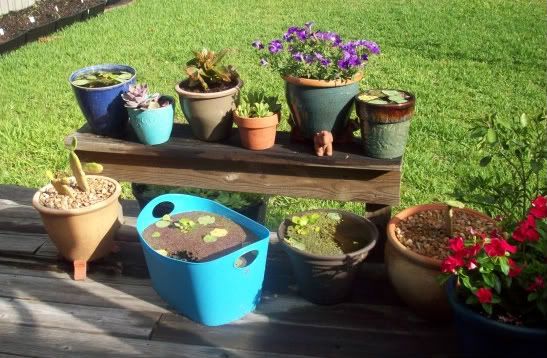
Yes I use unusual containers to make my garden beds. I used an ice bucket tote from Target to make a small water garden for my water lotus plants.
Here's the boys outside toybox. Outside toys are huge.
I'm using cement mixing trays to grow my sweet potatoes, jerusaleum artichokes, taro and water celery. I don't know how well this is going to work but I poked drainage holes where needed, so we will see. I'm hoping to make it easier to harvest the root plants. But some of the plants (the Taro and water celery) like boggy conditions.