Sunday, May 28, 2023

Painting Miniatures

 One of the things that I have done over the last 9 years is painting miniatures for RPG's and board games.  There is nothing like having a fully painted game in front of you to help you to become more emersed into the game.  Whether that be a tabletop war game, a session of your favorite RPG or playing that cool board game with all those miniatures. I haven't painted much in the last few months but I thought I would show off some of the things I have done in the last few years.


I am going to start off with some of my oldest miniatures first so that you can see a bit of progression.


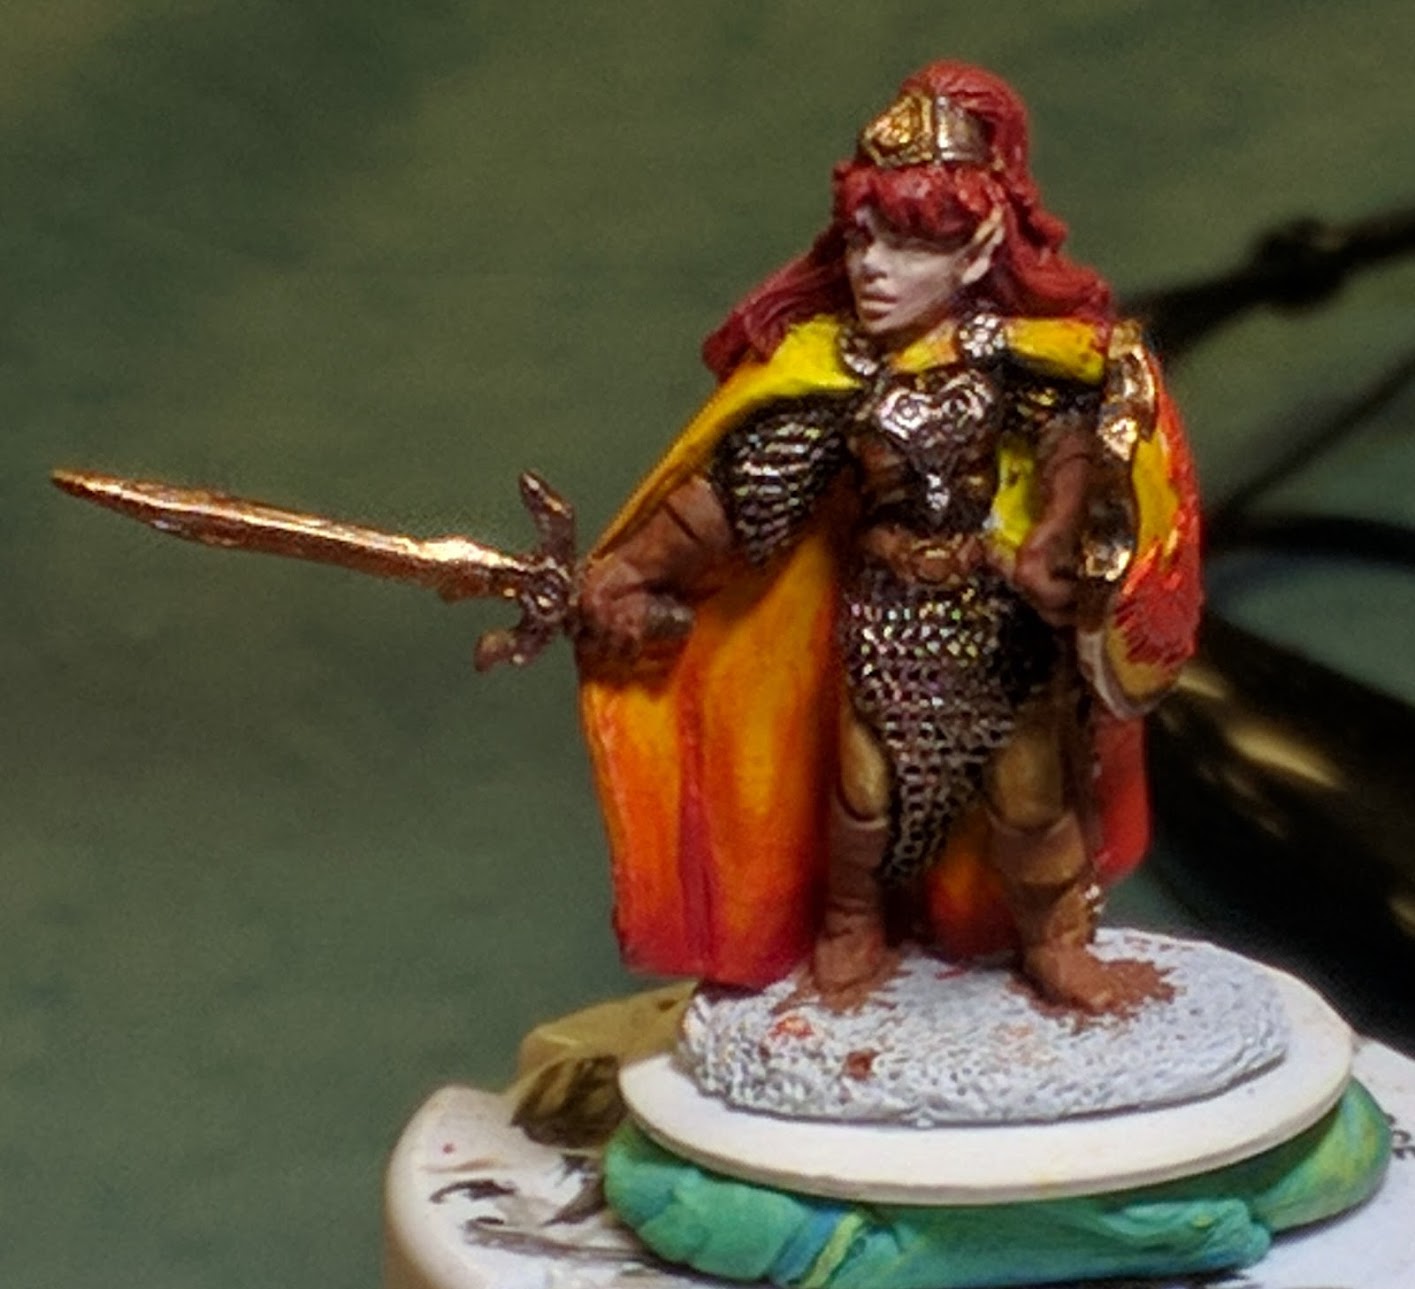
This was done for someone who asked me to paint a miniature for their D&D campaign.  I wasn't confident in my abilities but she was happy with the result.  This was right after I had started painting miniatures.

For a while I did a lot of commissions for her and others for a while.  So much so, I completely stopped painting for myself mostly during this time.  Here are some of the miniatures that I did during that time.


The following picture was taken before I painted the face.


The following picture was a pretty good paint job that turned out to be a totally failed miniature.  After I put the clear coat protectant on in, it stayed sticky.  I don't know what happened other than there was some weird chemical reaction.  Years later and the thing is still sticky where the coating is still entact.


I am almost embarrassed the following two pictures.  These were micro machines that I repainted parts of them and then made them grungy with a little bit of shading.  I didn't paint the majority of each miniature, only modified the painting that was there.  I painted these for someone who was wanting to play X-Wing but refused to do the painting himself.  I did offer to show him how to do these simply.


The next miniatures were part of a whole group of miniatures that I did for a 10mm historical game.  These are the miniatures that I hated the most.  They turned out looking good, but I am farsighted and these hurt my eyes to paint.  I will not paint miniatures this small again.  I know that one is a pinkish/purple and green.  The person I was painted these for asked me to do more.  This was my response.  I told him I would not repaint it.  I didn't either.  Don't worry he was a friend and took it in stride.


The following were more commissions.


But during this time, I painted and crafted a few things for myself.  The first were statues I made out of dollar store plastic figures with medicine measurement cups.  My thoughts were that these statues could have many uses from cursed princesses to witches and beyond.  I am pretty proud of them.


I created this little hut out of an old ribbon role, cereal box cardboard, chop sticks, toilet paper rolls, foamcore board, popsicle sticks, a jump ring and a ton of glue, LOL.


Another commission.  So, this miniature didn't have clearly defined eyes.  I told the client that it would be best if I didn't try to paint eyes on it. But she insisted and told me the eye color, so here we are.  I did the best I could.  Now I tell my students not to try to paint eyes that are not there.  This is why. I used little microbeads to represent a magic spell.  I like the effect that it gave to this miniature.


This next one was for my favorite fairy (I'm looking at you Dim).  He picked the colors.  This model was fabulously flamboyant.  I wasn't finished at this point, I just took pictures of the progress, but never of the finished mini. I did that a lot.  I kept forgetting to take pictures of miniatures I was painting for people.


Next, I tried my hand at making my own miniature.  I used 3 different plastic skeletons to create this monstrosity, bwhahaha (and toilet paper, one bead for an eye and glue) I created this partial dragon skeleton as terrain or a possible zombie dragon.  I like the way it turned out.


And one cage for your torture chamber.  This was made out of a dollar store hair curler and a bunch of spear food picks.  I think it turned out great.  


The next miniature has a story behind it.  I do what I affectionately call "Paint and Play" days at my house from time to time.  My favorite fairy was at the house and he was making a girl beholder.  We were joking around calling her a sheholder.  He asked me to paint make up on it so I showed him out to do it, then we were joking that it needed eye lashes.  Well, being the crafty person I am, I happened to have some cheap dollar store eye lashes that I had to make dolls.  We made it happen.  It turned out so cute, that I decided to make on myself.  I sculpted lips on mine then painted her up.  I present "Diva, the Sheholder!!!"  LOL.  I love the way she turned out.  But beware, she will kill you if she doen't like the way you are dressed.  Of course the first thing I did was drop her on the floor and break the flight base.


The next is the spectator & gazers.  I decided to go pastels in honor of kaboodles from the 80's.  Yep you read that right, I chose the color based on kaboodles and the love the 80's had for pastels at one point.


I painted the next miniature with the intention of creating a video.  I wanted to make a "Paint with me" or "Paint Along" video where I gave instructions on what to do to get these results.  It never happened.  I would still like to make the video.  

Last but not least, doesn't every campaign need an evil alter?  Well, here is mine. I know its not exciting but it is what it is.  

I know that the pictures were not the best in the world.  I take pretty horrible pictures but I am getting better.  I've painted way more than I am showing here.  This is just all the pictures I have of my work.  Hope you were entertained at least a little bit.  I do plan to make some posts in the future on miniature painting including videos of other people showing instructional videos on painting miniatures.  I hope to get my own as well, but I need to learn video editing.  

I have been teaching miniature painting classes for the last 6 years.  I truly enjoy teaching how to paint miniatures. I have thought about going back and getting my teaching license so that I can teach art.  I have the background.  But for now, this is what I do.  

Monday, May 22, 2023

Well, we had yet more weird/bad/crappy life.  So I got a divorce last year.  I had to go back to work after being a stay-at-home wife for almost 25 years.  Jumping back into the job force has been a learning curve.  I've had my ups and down over the last year since the divorce but I'm starting to stabilize. I have been struggling with Social Security benefits for my son who has autism.  Can you believe my youngest is 20 years old now?  I did luck out and get a job at my favorite local game store... Ettin Games in Humble, TX.
  My boss hired me without an interview.  He knew that I was very knowledgeable about games and painting miniatures.  It was a really nice to have that confidence booster after my marriage disaster.  So lately my life has been dealing with SSI, looking into getting food stamps for Gavin and working.  I'm trying to get back a bit of my old self by working outside again.  I'm sure that its not surprising that I fell into depression because of what was going on in my life.  I have a pretty good doc and we have been working on settling things.  I feel more like my old self all the time though it is easy to get back to that depressed girl that just wants to read books and do nothing else.  I have been watching to many bad youtube videos as well lately.  I am thinking of creating a new youtube channel about what I'm doing at work and home.  I've been doing small videos that I dub Softcore Gambling with Cherry.  They have been fun and have turned out well. I want to do these more often and on my own channel.  I also want to start doing creative things again.  I just haven't done that lately either.  It's been hard to even think creatively for a while.  I do have moments where I will work on things here and there. Its a slow process to find myself again.  To find who I am now.  The last time I was single, I was 15 years old.  I am 49 now.  That's a long dang time to be with one person.  You develop a couple personality.  I need to find who I am now.  I need to find my strengths.  Work on my weaknesses, etc.  I am doing much better that I was last year, I'm not as broken.  Well right now I'm leaving this post with a few links to Ettin's Social Media to show support for where I work.

Website:  Ettin Games
Youtube:  Ettin's Youtube
Meetup:  Ettin's Meetup  - this is where you can go to sign up for events
Instagram:  Ettin's Instagram

Thursday, October 11, 2018

New items for Dim

So over the summer Dim of Dim n' Wit the Fairy Brothers had his costume suitcase stolen out of his car.  Luckily, he didn't have his shirts in the case, but he did lose a lot of his costume pieces.  I made him a few things to replace what he had.

Dim wears flags on his belt.  He lost all of his flags, so I made him some more.  I used my serger to add cool decorative thread called wooly nylon to the edges.


 Closeups: 


Here are some hats I made him until I can sew him some.  The rectangle things on the bottom are fingerless gloves.

The other side:


Hand Modeling for ya!  


Outside Halloween Decor

Here is the front of my house from the neighbor's yard across the street.  The 2 pumpkins in front by the road lite up when I remember to put batteries in them.

Here is the right side of the yard.  You can see some of the skeleton flamingos I got from the 99cents Only store.  


The Left side of the yard with more flamingos.  I think I might need more flamingos, what do you think?  


Daytime shot of the witch's cauldron.  This is on the left side of my door.


A close up of the new wreath I made this year.  It looks better than this in person, LOL.  I used all Dollar Tree items to make the wreath.  I attached the sign afterwards.  This sign is one that I've had for years, I don't remember where it came from.


A picture of my front door.  Its kinda blurry but I love it.  The big black pumpkins and little black pumpkins on either side of the door are from Target.  They are plastic trick or treat containers.  The white ones used to be orange until I painted them white.  I didn't like the smile on them so I turned the face towards the back.  The two orange pumpkins on the porch lights are just old trick or treat pumpkins I cut up and put over the lights.  I saw it on Pinterest here:  https://www.pinterest.com/pin/251779435402696813/


Here it is, all lit up at night.  I love the way it looks.  I took this picture before the white pumpkins were dry, but you get the idea.


More Halloween Decor

So here is the updated look for my Halloween tree.  I added some flower.  I got some peach and burgundy hydrangea flowers from Michaels yesterday.  The peach ones were spring décor leftovers and were 90% off, the burgundy ones were 60% off one day only, they are now 50% off this week. 


Here is our table.  I just collected a few items around the house.  I already had the placemats and Jack Skellington goblet.  The pumpkins were from Dollar Tree and Walmart this year.  The light orange hydrangea flowers were more that I got from Michaels' at 60% off yesterday.  The black spiderweb lace placemat on the lazy suzan was from the 99 cent only store.  I cut it down so that it would fit it the spiderweb would fit on it.


Here is a close up of the lazy susan.  


Here is the back side of the lazy susan.  If you notice the vase isn't full of filler, that is actually a scarf I got from the Dollar Tree.  I forgot to put the salt and pepper shakers back before I took the picture.


Here is our bar.  I added the "Dracula's Pub" sign that I got many years ago.  The wooden cage in the front holds a skeleton owl.


Finally I decorated for Halloween again, LOL - Here is the inside.

So its been a while.  I finally decorated for Halloween again this year.  I didn't do a lot.  Its been hard to work out that balance between running a home based business/crafting and doing things around the house.  Without further ado...Here is the bookshelf in my living room:

You will notice that my decorations have changed quite a bit.  Well, I decided to do a purge of my Halloween décor.  Don't worry I kept more than what is in the picture but not much more.  I did get rid of most of my apothecary pieces.  I decided it was time for a change.

Here is my Halloween tree.  This poor "white" Christmas tree started off life bright white.  After spending some time in the attic next to the roof, it turned this awesome antique white.  But alas, its on its last legs and this will be its final Halloween (it sheds too much now).  I went kind of lite on the decorations this year and since I took these pictures I've added some burgundy and light orange flowers to the tree.  Sorry the pictures are so awful, I'm crafty in many ways, but not photos, LOL.


A Closeup of the top of the tree.  I used a mask as the topper.  I found it at 99 cent only store.


A view of under the tree.  Pumpkins, Pumpkins and more Pumpkins.  


My mantel, well all I did was add the "Boo" sign.  Yep that is what my mantel looks like normally, LOL.  We are a bunch of geeks around here.


Our side table/shelves...Some of the items on display are there all year round, some are just for Halloween.  Which do you think are in which catergory?


Well that was all I did inside.  I kept it pretty simple, using bigger, simpler items.  What you don't see in the picture is the hot mess that is all around the decorations.  Right now my living room is also my storage room for my business while we move things around in the house.  But I was determined to decorate this year and enjoy the season.