Wednesday, June 16, 2010

Steampunk pots, the yard & garden

I finally got around to downloading the pictures off my camera. I am very slowly starting to steampunk my house. I decided to use blues, greens & teals in the backyard with some terracotta. I'm going to use black furniture with colored pillows for accents but I haven't bought or made any yet except some folding furniture so all I have is some old faded plastic furniture that is about on its last leg. Anyway here are the pots:

I took plain old plastic pots that were faded and revamped them with plastic paint. I used black, blue and dark green to make these.

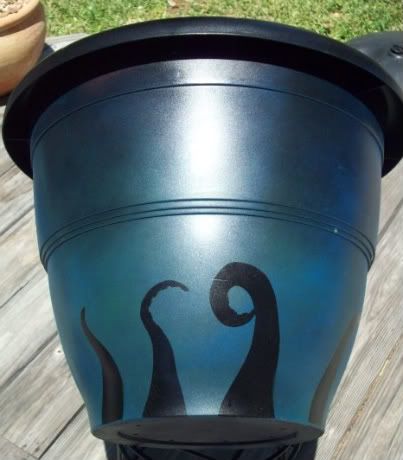
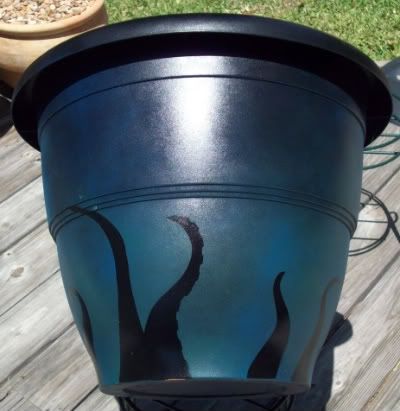
Pot #1: I started by spray painting the pot black. I then cut out tentacle stencils out of contact paper and put them on the pot. I then lightly sprayed them with blue and green spray paint to give them a watery look. I sprayed them more solidly towards the bottom of the pot and let it fade into black towards the top. This pot is the biggest of the pots I painted.
Photobucket

Photobucket

Pot #2 - I started out painting this pot black and just spray painted the top with the blue and black and let if fade into the black towards the bottom.
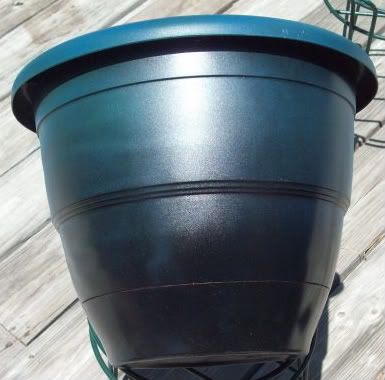
Photobucket

Pot #3 - I started out painting this pot black. I taped off areas and then sprayed blue and green. I then pulled off the tape. I found some upholstery tacks and cut off the shanks. I glued them onto the pot with e-6000 to make the pot look studded.
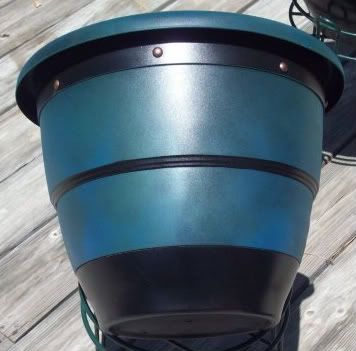
Photobucket

I have also painted some of them with just the blue and green. I didn't get a picture of them before I got them planted. But here is one of them:
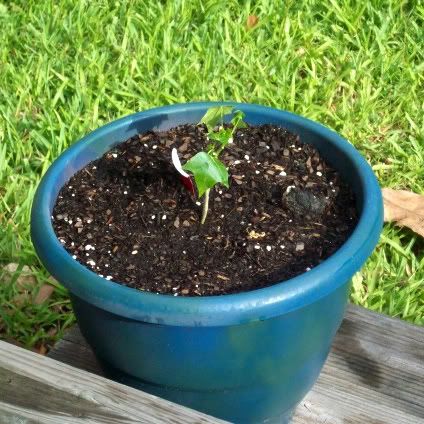
Photobucket

Oh and for giggles, here is the before picture:
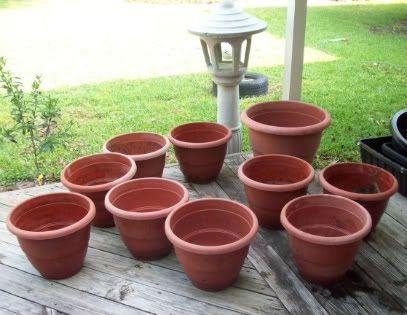
Photobucket

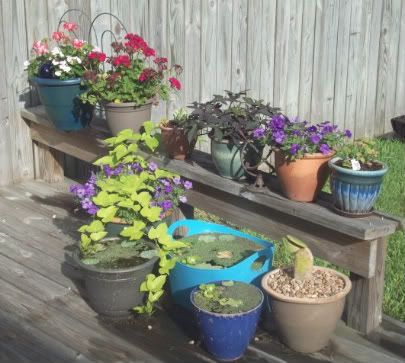
I haven't painted all of them yet ( I ran out of good weather and paint), but I did paint over half of them. I haven't decided what else I'm going to do to my yard yet to add a touch of steampunk to it, so I'm open to suggestions. I'm actually thinking of painting images on the fence. I want to add an arbor over the deck out of copper pipe but that might get expensive. Here are some pictures of the backyard so far:
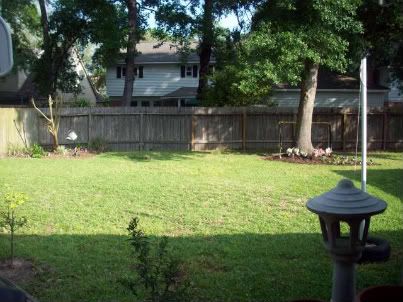
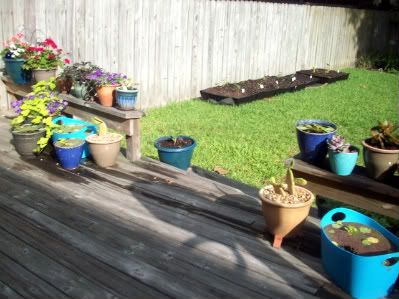
Photobucket

Photobucket

Yes I use unusual containers to make my garden beds. I used an ice bucket tote from Target to make a small water garden for my water lotus plants.
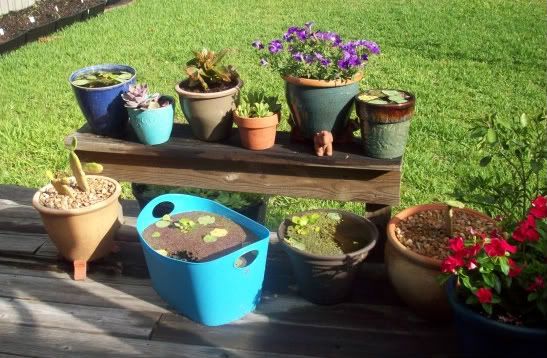
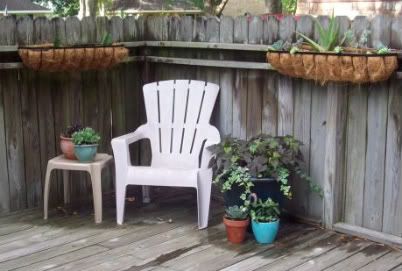
Photobucket

Photobucket

Photobucket

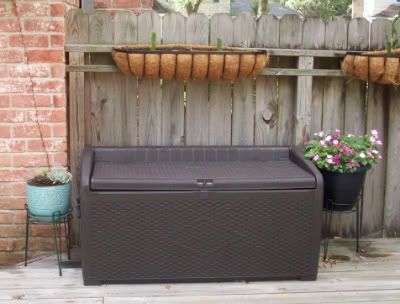
Here's the boys outside toybox. Outside toys are huge.
Photobucket

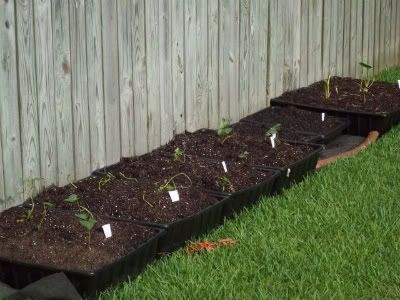
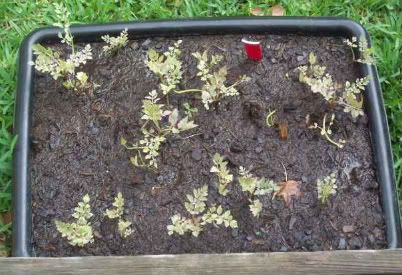
I'm using cement mixing trays to grow my sweet potatoes, jerusaleum artichokes, taro and water celery. I don't know how well this is going to work but I poked drainage holes where needed, so we will see. I'm hoping to make it easier to harvest the root plants. But some of the plants (the Taro and water celery) like boggy conditions.
Photobucket

Photobucket

Monday, May 17, 2010

Steampunk my house

Well we have been in this house for several months now. This is the first house I've moved into that I have tried to decorate as soon as I moved in. Instead I waited a while until I decided how I wanted to proceed. I'm still lost with the majority but I've decided in the abstract to steampunk my house inside and out. I won't be able to do much with the front of the house, but the backyard is fair game. I'm fascinated with steampunk, neovictorian, gothic victorian, type decorating. I'm planning on Steampunking most of the rooms in my house. I'll try to post my progress, crafts and finds. I plan to even steampunk my kids rooms. My oldest will have more of a spaceship theme and my youngest will have more of a pirateship theme. I'll try to get some pictures posted of the rooms I intend to redo. Atleast so I can have some before and after shots.

For My backyard:
* I'm planning on putting oil/alcohol lamps around the fence. I found some really neat wine bottle oil lamp holders that I've been able to replicate for pretty cheap. I'm hoping to get some blue wine bottles and etch designs into them.
* I've already started repainting some of my cheap plastic pots. They were faded and nasty looking anyway, so it was either repaint them or throw them out. I bought some plastic paints and got to work. I made stencils out of contact paper and painted tentacles on one of them.
* We are also planning (hopefully) to put in an aquaponics system. I think that this will lend itself to an industrial look that I can add some victorian touches to.
* We may build a greenhouse or atleast a covered area to house the aquaponics system.
* I'm 'thinking' about painting some scenes on the wooden fence around the yard to give it some interest.
* We've been buying pots in blues/teals/turquoises to add color to the backyard and give a more nautical color without being cheesy or typical (with navy blue, red and white that you see most nautical themed items in).
* We will be refurbishing a wooden kitchen table to go outside. I may do some woodburning on the top to add a bit of interest.
* Maybe a copper pipe pergola over the deck area that we can attach shade to for the dead of summer.

I'm still working on ideas for the backyard. I may do some of these, or all of these ideas. I haven't worked out anything else for the rest of the house. So as I come up with something, I'll try to post it. I do know I need paint, paint, paint. I'm tired of looking at white and off white walls. We only have one room in the whole house that isn't white or off white and that's a tiny half bath off the laundry room.

Tuesday, March 2, 2010

Easter Grass Mats

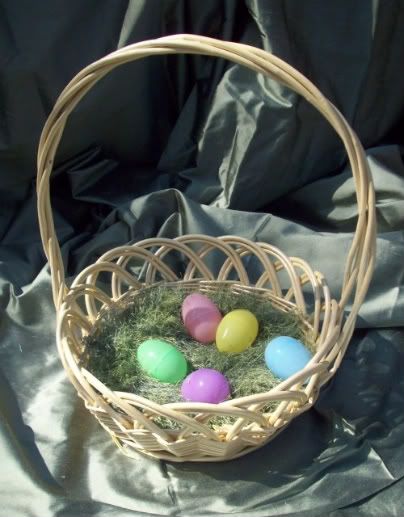
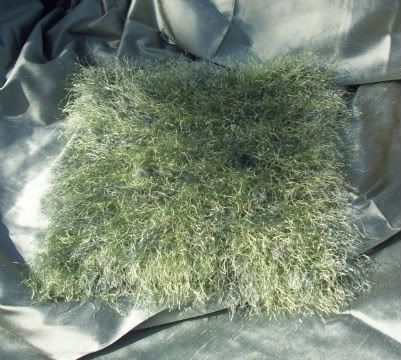
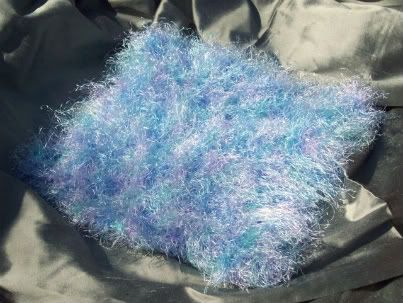
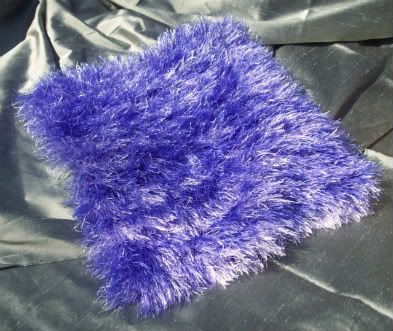
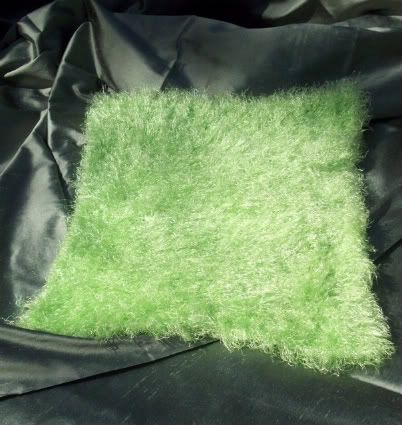
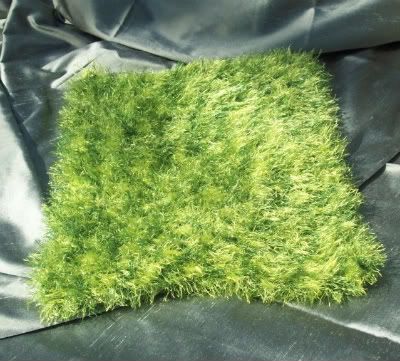
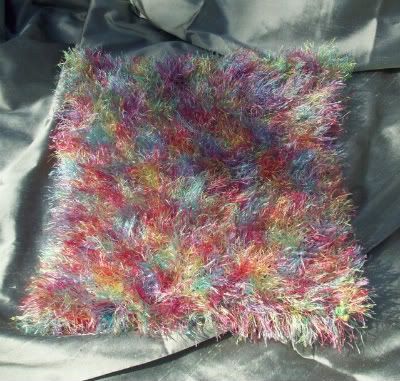
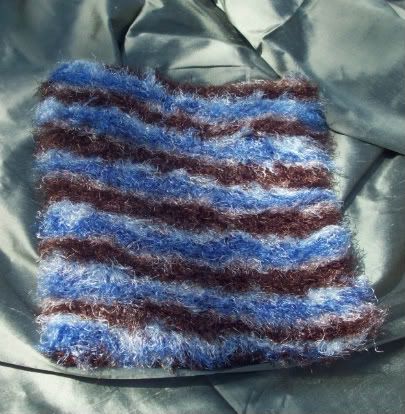
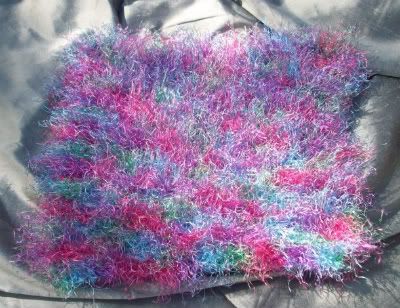
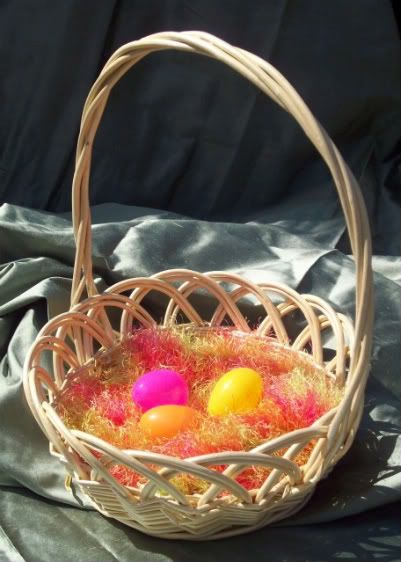
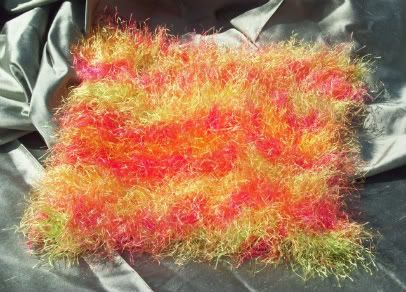
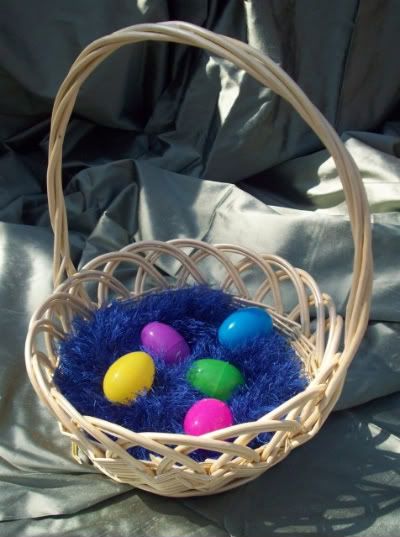
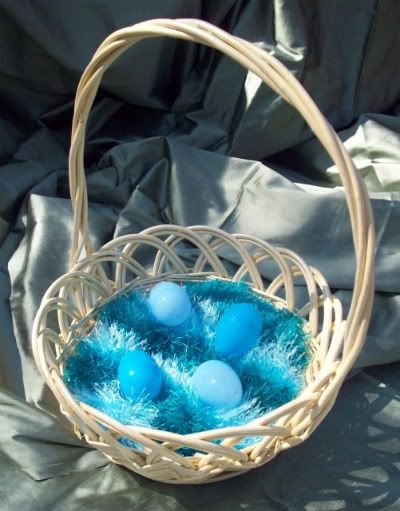
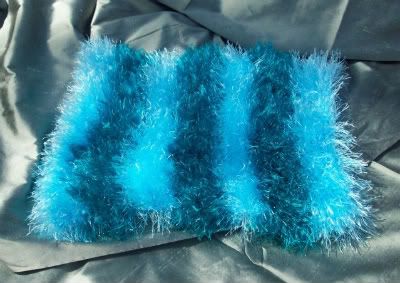
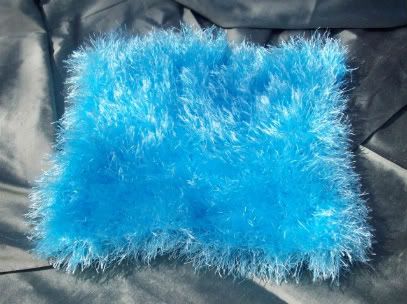
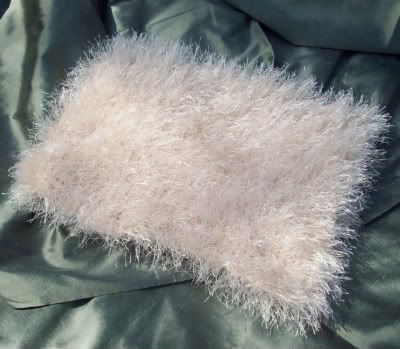
I came up with this concept about 2 years ago. It turned out so well, I've made some to sell as well. I HATE that loose easter grass that ends up all over the house and yard on Easter day. So I came up with a solution...knit furry yarn and make Easter grass mats.

Here are the ones I made for my sons:

Photobucket

Photobucket

Here are the ones I made to sell:

Photobucket

Photobucket

Photobucket

Photobucket

Photobucket

Photobucket

Photobucket

Photobucket

Photobucket

Photobucket

Photobucket

Photobucket

Photobucket

Photobucket

I tried many types of yarn. I like Yarn Bee's Haute Fur yarn the best for making these for look and ease of use while making them. But I like some of the colors from other brands better. I used no pattern to make them. I just cast on and knit until liked the length then cast off. They are super easy to make for any knitter.

Monday, March 1, 2010

Seth's Birthday Gifts

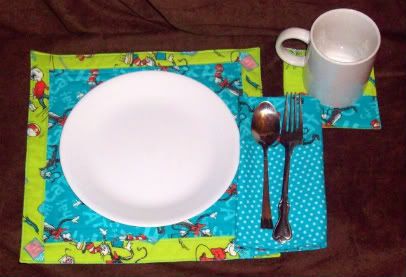
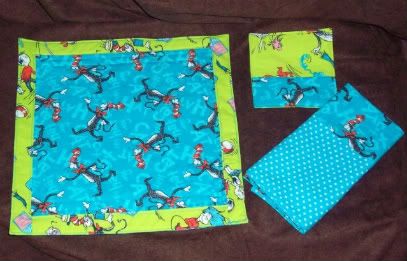
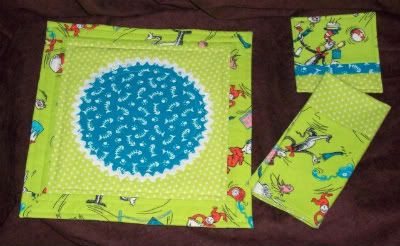
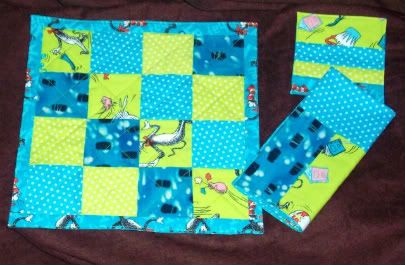
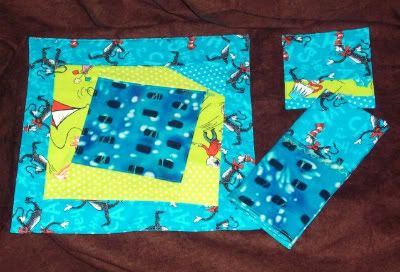
My nephew's birthday was in January. For Christmas he got a leapster tag and The Cat in the Hat book to read with it. He loved it so I used up my Cat in the Hat fabric scraps to make him some 4 placemat sets for his birthday. I make these sets smaller for young kiddos. I also make a separate coaster so that the child is not trying to put his or her cup to close to the plate to cut down on accidents. And I made a napkin to match. He seemed to love them.

Here is a picture of the sets with a small place setting. The plate is a salad plate. Photobucket

Here are the sets:
Photobucket

Photobucket

Photobucket

Photobucket

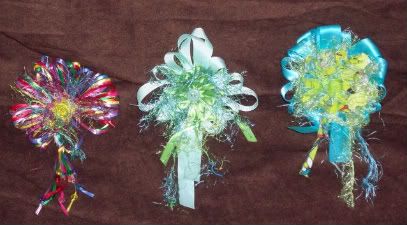
I wrapped it in the lime green and teal loom knitted gift bag I made a while back and pinned on a bow that I made with a round flower loom. I made 2 other bows to put on gifts about the same time also on flower looms (one square and one round).

I used the bow on the right for the gift.
Photobucket

I forgot to take a picture of the gift all put together but it was cute. He loves Cat in the Hat so this turned out perfect.

Friday, January 8, 2010

Goody Bags

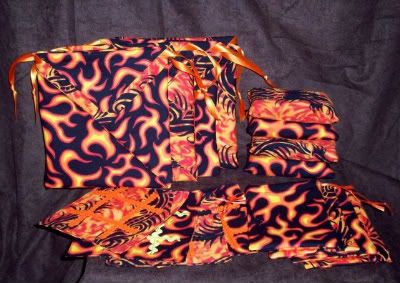
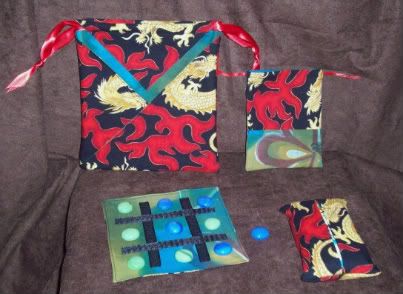
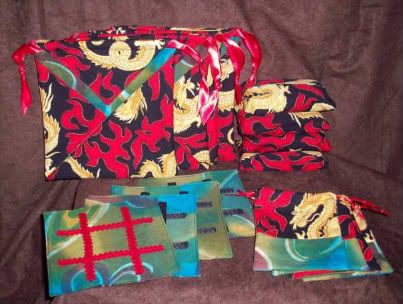
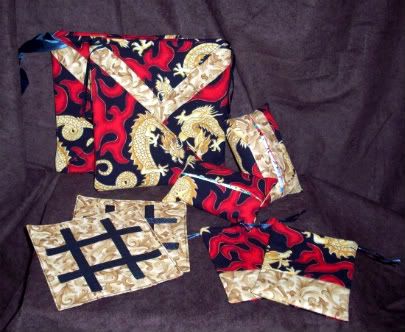
Well I decided to use up some of my fabric stash and make the goody bags for my 9 year old's birthday party this year. I wanted to do something different and I didn't want to give the kids just junk.

I found this pattern:
http://mylittlemochi.typepad.com/my_little_mochi/2005/05/origami_pocket_.html
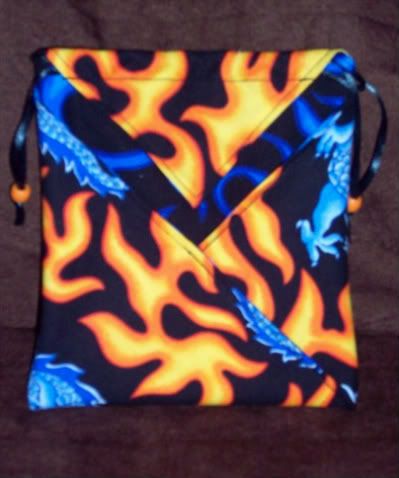
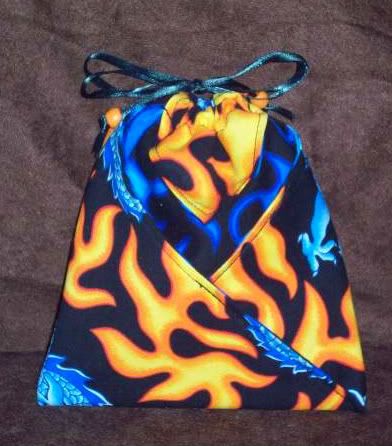
And thought I'd give it a try. The bag ended up being too small but it was cute:

Photobucket

Photobucket

So I made them using a 16X16 inch square in stead of the 12X12 the pattern called for. The finished product is about 7 inches wide with this size.

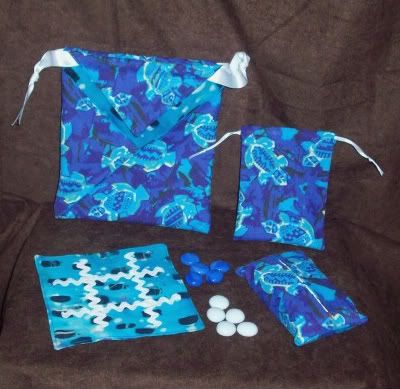
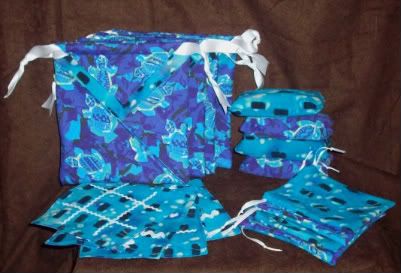
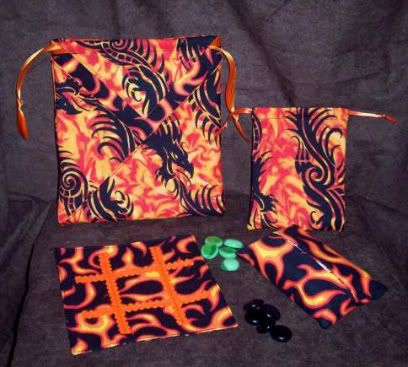
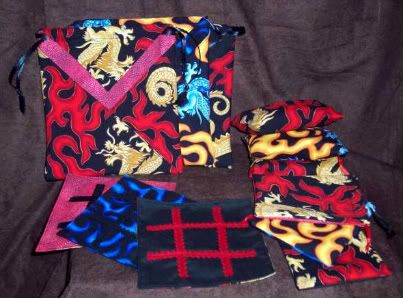
I also made tissue holders and tic tac toe games and small drawstring bags to house them and the pieces. Then I stuffed them with left over party stuffers I have from years past. All I bought to finish these bags were ribbon, game pieces, tissue packets (all 3 of these from the dollar store) and some smarties candy. I ended up making 17 of them.

Photobucket

Photobucket

Photobucket

Photobucket

Photobucket

Photobucket

Photobucket

Photobucket

More Gift Bags

I've been working on different patterns for gift bags. I don't want just plain rectangle bags. I want pretty bags that I'm happy to use year to year. Here are my latest bags.....

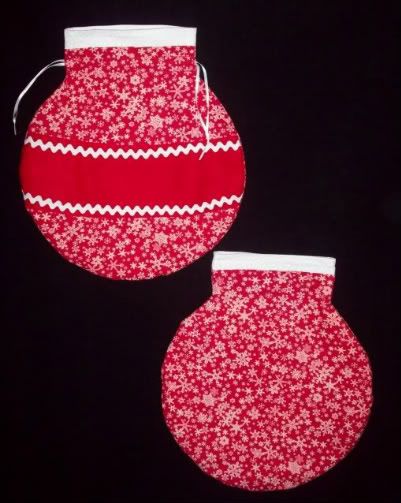
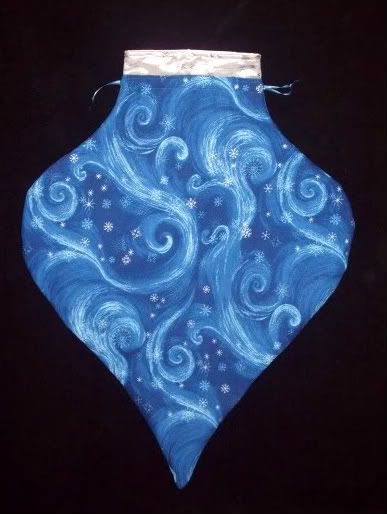
Ornament Shaped bags:
The first bag I made is the one on the bottom. I used hook and loop tape for the closure on it. The top bag was made with drawstrings and was the second bag I made.

Photobucket

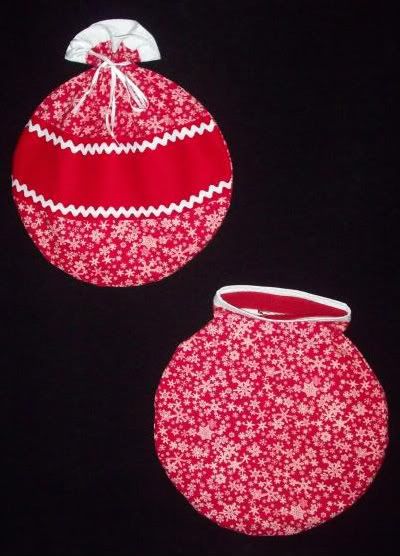
I'm still tweaking the pattern. Here they are with the drawstring closed and the other open so you can see the hook and loop.

Photobucket

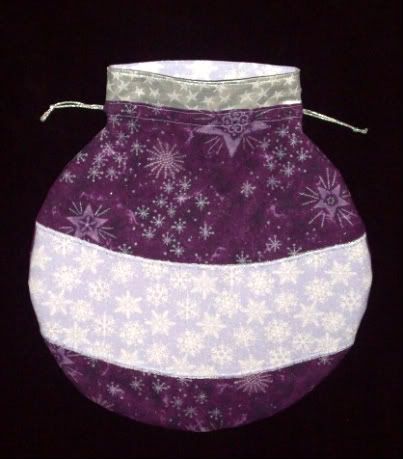
Here is another using the same pattern after I tweaked the stripe part of the pattern:
Photobucket

Photobucket

Here is the second ornament pattern I've come up with so far:
Photobucket

Photobucket

I like the way they have turned out so far. I'm still tweaking the pattern. I'm actually thinking of writing up this pattern to sell but we will see if I get around to it.

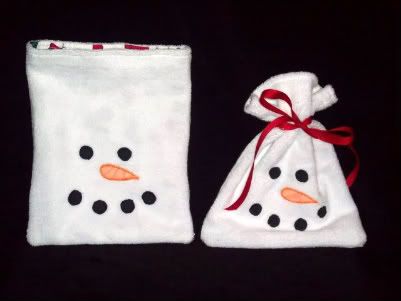
And last but not least are the other snowmen bags that I finished.

Photobucket